
I love making drawstring bags, they're fairly simple to do and can be used for numerous things from laundry bags, toy tidy's to secret chocolate stashes!


Here's how I make my drawstring bags:
2 x Fat quarters for the outer fabric
2 x fat quarters for the lining
3m (approx) of ribbon or cording for the drawstring ties.
Thread, pins, ruler, fabric scissors or rotary cutter & cutting mat and of course a sewing machine.
First of all decide the size you'd like the bag to be, allow 1/4 of an inch seam allowance right around the fabric.
Next draw out the size onto paper or card to make a template. This helps if you want to make several the same size but also helps get the outer and lining fabrics the same too.

Cut out using a rotary cutter on a cutting mat or alternatively draw around using a erasable pen or chalk or washable pen. pin all four layers together and use fabric scissors to cut.
Place one outer and one inner right sides together and pin.

Sew a 1/4 inch across the top. Make sure if you are using a directional print that the top is where you are sewing.


Repeat for the other outer and inner fabric.
Iron the seam towards the outer fabric.


Draw where you would like the drawstring closure to begin and end.


Mark it on the other side too.

Now put right sides together and pin. I find putting crossed pins in between the spaces I don't need to sew helps me to remember!

Mark a gap in the lining at the bottom to leave open for turning later.


Begin sewing, don't forget to leave a gap in the lining at the bottom for turning later on.

When you get to a corner leave your needle down and lift your presser fun turn the fabric 90 degrees and lower presser foot and carry on sewing.


Back stitch when you get to the line where the drawstring will be. Lift needle and foot, then sew and back stitch again to prevent the stitches from coming loose.

Cut the thread between these two points.
Box the corners by pulling either side of the seam and line up the seam, use a square ruler to mark the inches from the point. The 45 degree line should line up with one of the sides to ensure it is straight.

Draw a line across and sew, remembering to back stitch at the beginning and end. Repeat for all 4 corners.


Cut the corner off leaving about 1/4 inch from the stitch line.

Turn the bag through the gap we left in the lining, sew the gap shut.


Sew the gap closed.


Push the lining inside the outer fabric and iron the top being careful not to iron the pen markings if you are using a fixion pen.

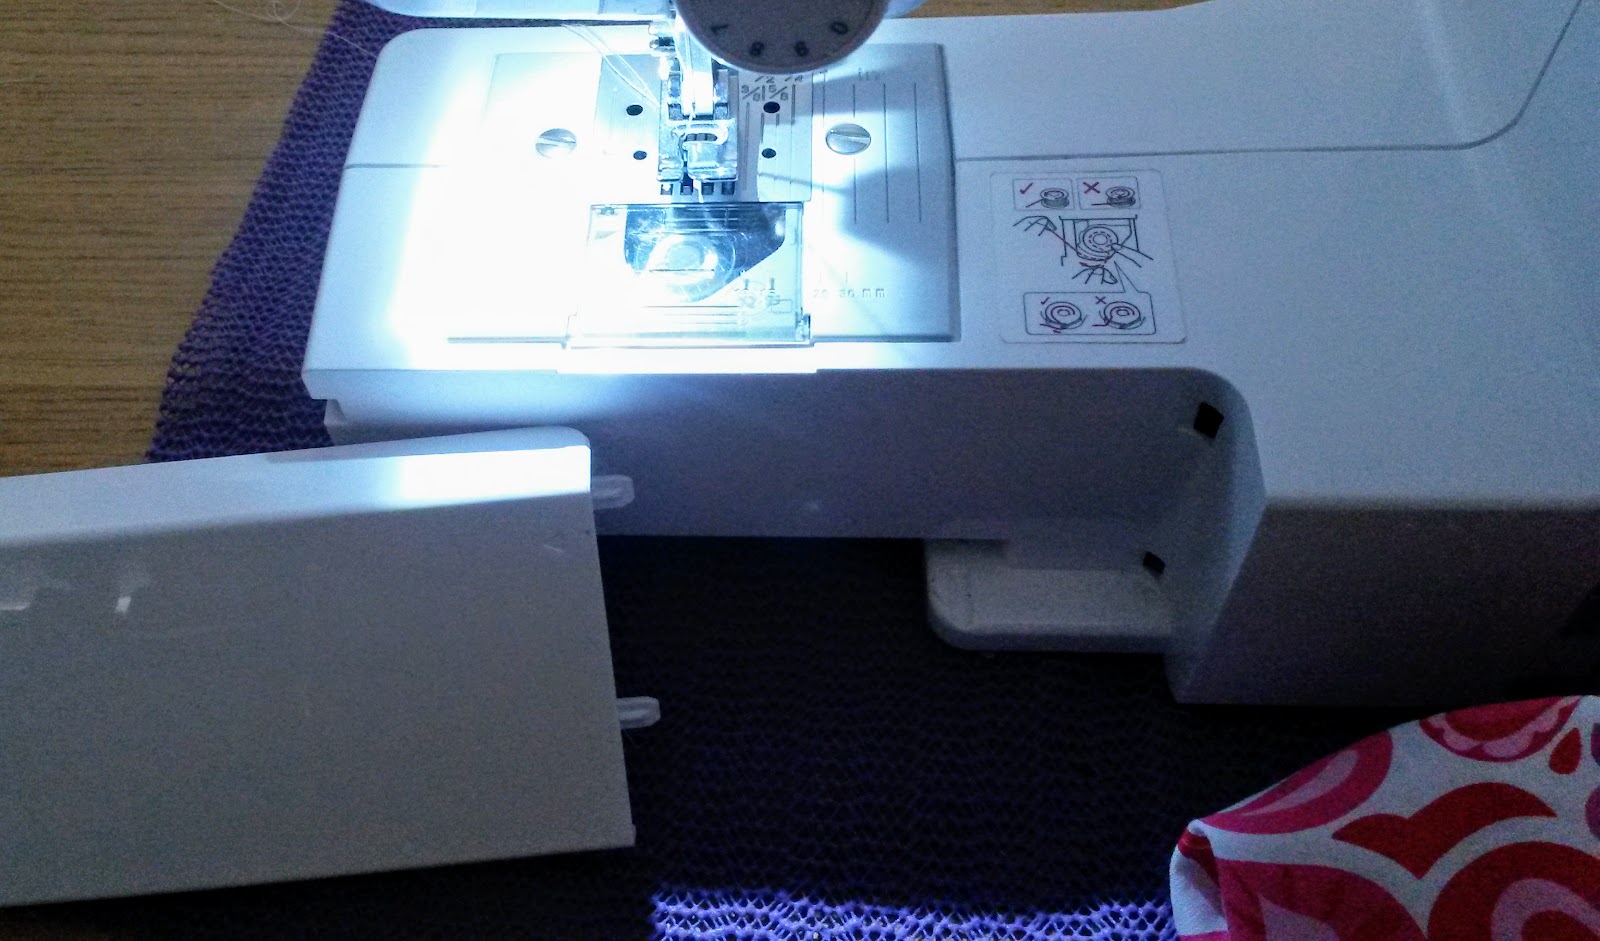
Next take the front from your sewing machine and slip it onto the arm.

Sew a 1/4 inch or less along the top of the bag. I like to use my piecing foot with the needle to the left. Just helps me sew straight.
Sew a 1/4 inch or less along the top of the bag. I like to use my piecing foot with the needle to the left. Just helps me sew straight.


Iron to remove the pilot frixion pen marks.


Using a safety pin thread the ribbon in one side and repeat for the other.

To prevent fraying I use a lighter across the edge of the ribbon to seal the ends.


Et voila your beautiful drawstring bag is made!
Adele has made me several bags as gifts. They are beautifully made. If anyone wants a reasonable gift contact Adele.
ReplyDelete